Index
PWAをflutterで作ってみる。
PC:M1 MacBookAir
Flutter 3.0.2 • channel stable • https://github.com/flutter/flutter.git
Framework • revision cd41fdd495 (7 weeks ago) • 2022-06-08 09:52:13 -0700
Engine • revision f15f824b57
Tools • Dart 2.17.3 • DevTools 2.12.2
前提:flutterでスマホアプリ開発ができている
以下のコマンドを実行後、エディターを再起動する。
|
1 |
flutter config --enable-web |
実行するとこんな感じのレスポンスが帰ってくる。
|
1 2 3 |
Setting "enable-web" value to "true". You may need to restart any open editors for them to read new settings. |
VScodeからflutterプロジェクトを新規作成する。
手順は割愛。
すると例のお馴染みのアプリが作成される。
|
1 |
flutter run -d chrome --web-port=8080 --web-hostname=127.0.0.1 |
エミュレーターでChromeを選んでから実行する

無事いつものやつが、web上で動作しています。
以下のコマンドを叩く。
|
1 |
flutter build web |
以下のようにマッチョが出てくればOK

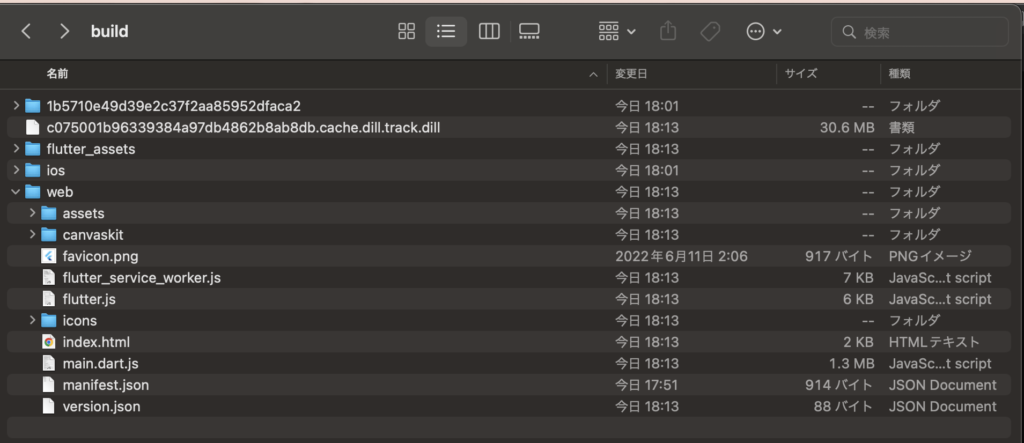
するとbuild/ディレクトリ下にビルドしたJavascriptファイルが出来上がっている。
Firebaseでホスティングするのが一番簡単らしいです。
デプロイにはFireBase CLIを使用します。
Firebase プロジェクトの管理、表示、デプロイを行うさまざまなツールを提供してくれるやつです。
詳細は公式のリファレンスを参照ください。
環境によってインストール方法が異なりますので、ご注意ください。
今回はMacで行っていきます。
他の環境下でのインストールはこちらを参考にしてください。
以下のコマンドでインストールする。
|
1 |
curl -sL https://firebase.tools | bash |
こんな感じでインストールが完了する。
|
1 2 3 4 5 6 7 8 9 |
Password: -- Checking for existing firebase-tools on PATH... -- Checking your machine type... -- Downloading binary from https://firebase.tools/bin/macos/latest ######################################################################## 100.0%##O=# # ######################################################################## 100.0% -- Setting permissions on binary... -- Checking your PATH variable... -- firebase-tools@11.4.0 is now installed -- All Done! |
以下のコマンドでログインする。
|
1 |
firebase login |
以下のようにlogが流れ、勝手にchromeに遷移し、googleアカウントのログインを求められます。
|
1 2 3 4 5 6 7 8 9 10 11 12 |
i Firebase optionally collects CLI usage and error reporting information to help improve our products. Data is collected in accordance with Google's privacy policy (https://policies.google.com/privacy) and is not used to identify you. ? Allow Firebase to collect CLI usage and error reporting information? Yes i To change your data collection preference at any time, run `firebase logout` and log in again. Visit this URL on this device to log in: https://accounts.google.com/o/oauth2/auth?client_id=563584335869-fgrhgmd47bqnekij5i8b5pr03ho849e6.apps.googleusercontent.com&scope=email%20openid%20https%3A%2F%2Fwww.googleapis.com%2Fauth%2Fcloudplatformprojects.readonly%20https%3A%2F%2Fwww.googleapis.com%2Fauth%2Ffirebase%20https%3A%2F%2Fwww.googleapis.com%2Fauth%2Fcloud-platform&response_type=code&state=211428523&redirect_uri=http%3A%2F%2Flocalhost%3A9005 Waiting for authentication... ✔ Success! Logged in as xxxxxxxxxxx@gmail.com |
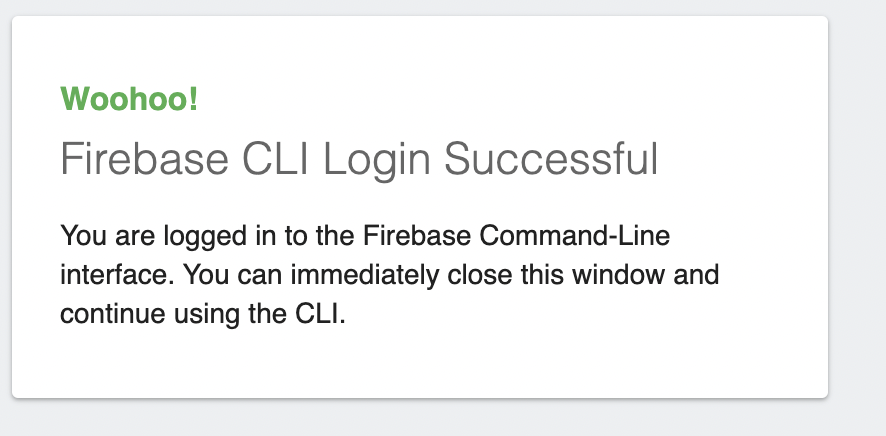
ログインに成功するとこんな画面になります。
FireBaseコンソールにログインします。
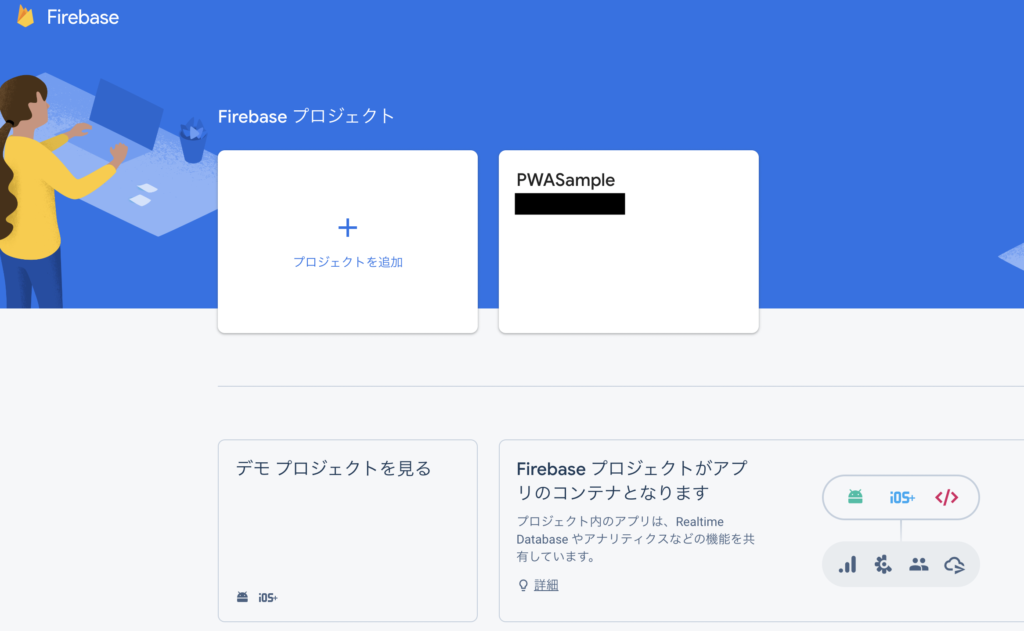
画面の指示に従ってプロジェクトを作成します。
完成するとこんな感じになります。(念の為IDは黒塗りしています。)
下記のコマンドをflutterプロジェクトのrootディレクトリで実行します。
|
1 |
firebase init |
こんな感じのlogが流れます。
色々質問が出てきてきますが、適宜選択してください。
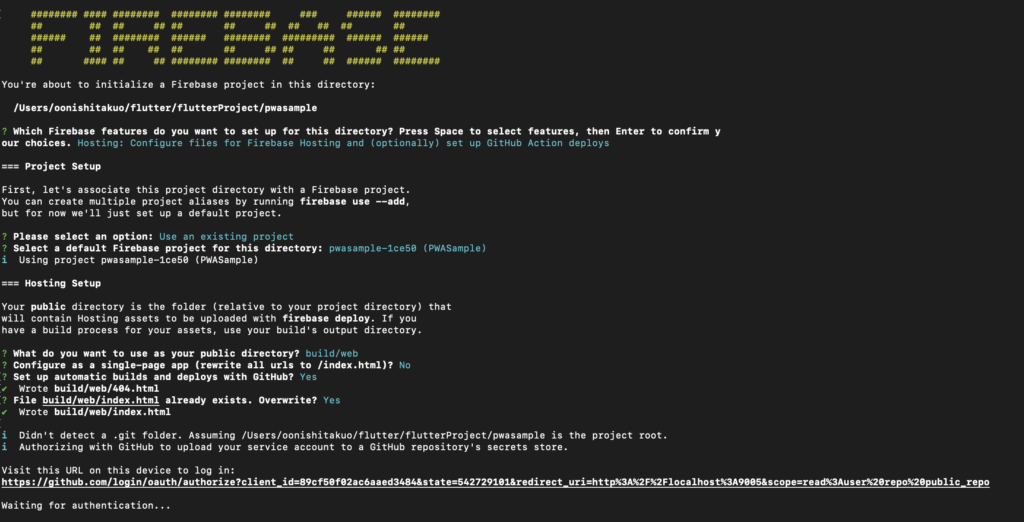
と言っても難しいと思うので、必要最低限の設定だけ以下に示します。
以下のような質問が出てきます。
|
1 2 3 |
Which Firebase features do you want to set up for this directory? Press Space to select features, then Enter to confirm y our choices. |
いくつか候補が出てきて、必要なものをスペースキーで選択します。
今回は以下の項目を選択。(hostingから始まる選択肢が2つあるので注意)
|
1 |
Hosting: Configure files for Firebase Hosting and (optionally) set up GitHub Action deploys |
以下の質問にbuild/webを指定します。
|
1 |
What do you want to use as your public directory? build/web |
Noにします。
|
1 |
? Configure as a single-page app (rewrite all urls to /index.html)? No |
あとは適当でいいはず。
各種設定が終わると、以下のlogが出ます。
|
1 |
✔ Firebase initialization complete! |
下記のコマンドでデプロイできます。
|
1 |
firebase deploy |
以下のようなlogが出てきてdeployが完了します。
|
1 2 3 4 5 6 7 8 9 |
i deploying hosting beginning deploy... i hosting[]: found 21 files in build/web ✔ hosting[]: file upload complete i hosting[]: finalizing version... ✔ hosting[]: version finalized i hosting[]: releasing new version... ✔ hosting[]: release complete ✔ Deploy complete! |
デプロイが終わるとターミナルにURLが出てきます。
自分の場合は以下のURL
|
1 |
Hosting URL: https://pwasample-1ce50.web.app |
URLにアクセスすると、なぜかfirebaseのデフォルト画面みたいなものが出ることがあります。
その場合はビルドし直した後、再度deployし直すと、ちゃんと表示されるようになります。
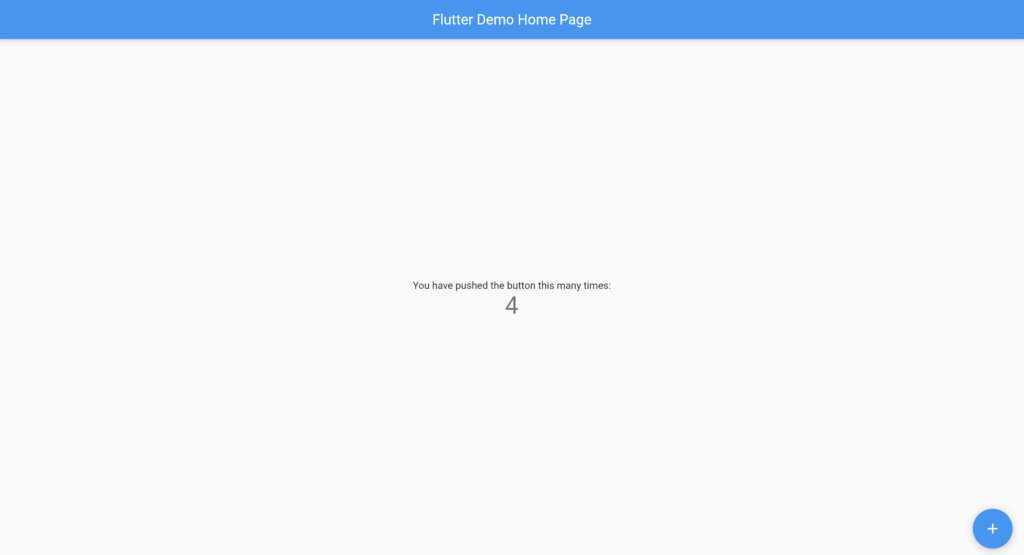
実際にdeployできると以下のような画面が出てきます。
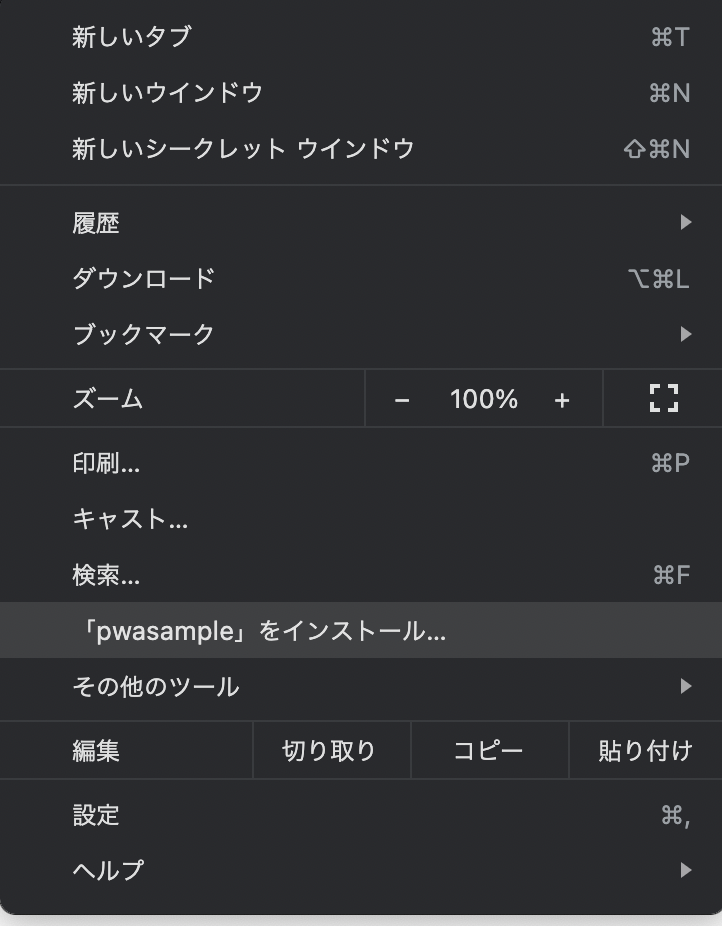
こんな感じでインストールもできます。


すみません、教えてください。
deployまでできたのですが、なぜか画面が「Welcome
Firebase Hosting Setup Complete
You’re seeing this because you’ve successfully setup Firebase Hosting. Now it’s time to go build something extraordinary!
OPEN HOSTING DOCUMENTATION」
になります。deployを繰り返しても同様です。
解消方法を教えていただければ幸いです。
すみません、先ほどの質問者です。
いろいろ試したところ、再度
flutter build web
してから
firebase deploy
したところ、どうにか動きました。
ご面倒をおかけしました。
ありがとうございます。
神納一郎様
コメントに気付けず申し訳ございせん。。。
無事デプロイできたようで安心しました:)