Index
本記事はflutter初心者が公式のドキュメント「Layouts in Flutter」を原文を訳しながら、学習した内容をまとめたものです。
自分と同じようにこれからflutterを学習しようとしている人や、英語読めなくて詰んでいる人の役に立てば良いと思いつつ、備忘録として書いています。
初心者なので、間違っていることを書いている可能性があります。
flutterの公式ドキュメントであり、flutterのUIを構築する際の基礎的な知識を学習できます。
それでは早速学習していきましょう。
ポイントは以下3つ
- WidgetsはUIを構築するクラスである
- WidgetsはUI,layout両方に使われる
- 簡単なWidgetを組み合わせて複雑なWidgetを作成していく
下図は簡単なレイアウトの例

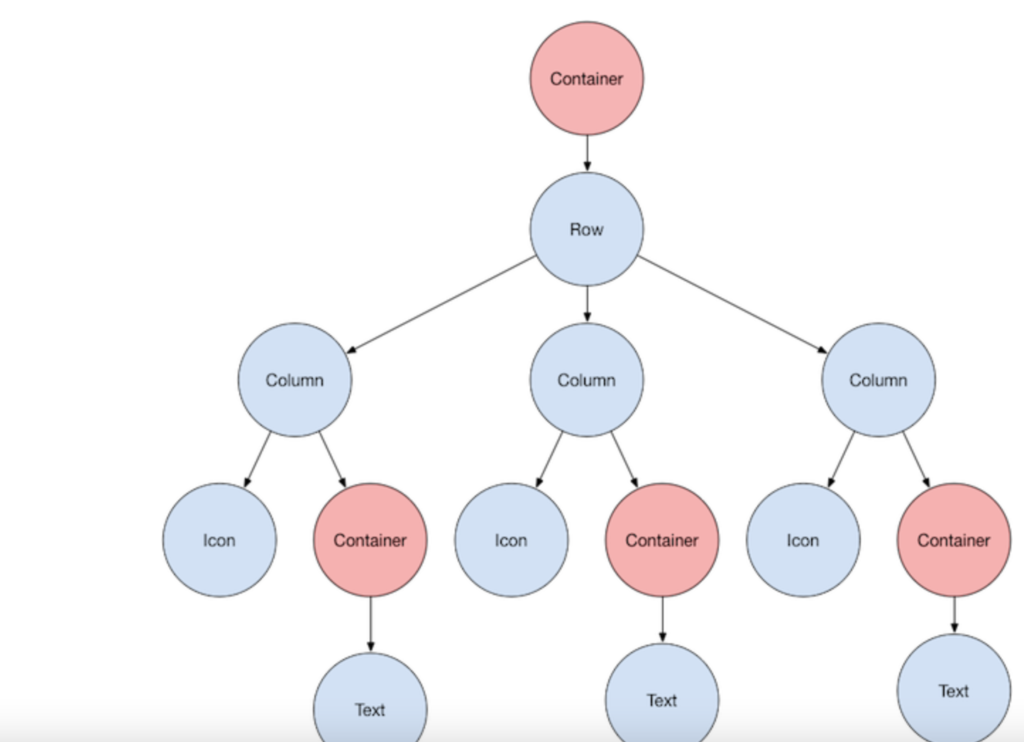
下図は上図のlauoutの構造を表した図、青丸が実際に人間に見えているwidgetで赤丸は見えていないwidget。
Containerはpadding,margin,border,背景色などに使われている。
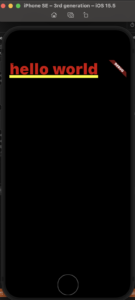
以下のようにTextだけのコードを書いてみると、左上にTextが表示される。
Text以外のwidgetでも同様に左上に表示される
|
1 2 3 |
Widget build(BuildContext context) { return const Text("hello world"); } |
全てのwidgetには以下の内どちらかの性質を持っている
- childプロパティを持っている(ex Center or Container
- childrenプロパティを持っている(ex Row,Column,ListView,Stack
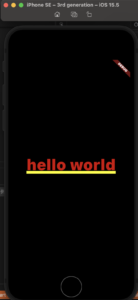
Center widgetを使ってTextを中央寄せすることができる。
下記のコードを見ればわかるが、child要素として指定したTextが中央寄せされる。
|
1 2 3 4 5 |
Widget build(BuildContext context) { return const Center( child: Text("hello world"), ); } |
- Flutterアプリはそれ自体がウィジェットであり、ほとんどのウィジェットには
build()メソッドがあります。アプリのbuild()メソッドでウィジェットをインスタンス化して返すと、ウィジェットが表示されます
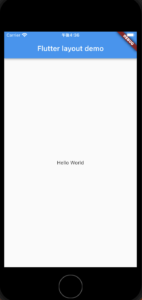
Scaffold widgetを使って実装します。
|
1 2 3 4 5 6 7 8 9 10 11 12 |
Widget build(BuildContext context) { return MaterialApp( title: 'Flutter layout demo', home: Scaffold( appBar: AppBar( title: const Text('Flutter layout demo'), ), body: const Center( child: Text('Hello World'), ), ), ); |
Center widgetを使って実装してください。
非マテリアルデザインの場合AppBar,title,背景色がないので自分で設定する必要があります。
|
1 2 3 4 5 6 7 8 9 10 11 12 13 14 15 16 17 18 19 20 |
class MyApp extends StatelessWidget { const MyApp({super.key}); @override Widget build(BuildContext context) { return Container( decoration: const BoxDecoration(color: Colors.white), child: const Center( child: Text( 'Hello World', textDirection: TextDirection.ltr, style: TextStyle( fontSize: 32, color: Colors.black87, ), ), ), ); } } |
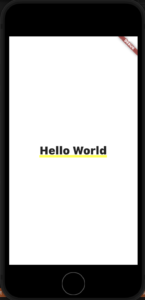
複数のwidgetを水平、垂直方向に配置する最も一般的な方法はRow,Column widgetを使うことです。
重要なポイントをまとめておきます。
- Row,Columnは最も一般的なlayoutパターン
- Row,Columnはchild widgetのリストを持っている
- child widgetはRow,Columnもしくは他のwidgetである
- Row,Columnは水平、垂直方向の配置の指定ができる
- 特定のchild widgetは拡大縮小できる
- Row,Columnの間隔を指定できる
|
1 2 3 4 5 6 7 8 9 10 11 12 13 |
Widget build(BuildContext context) { return MaterialApp( title: 'Flutter layout demo', home: Scaffold( appBar: AppBar( title: const Text('Flutter layout demo'), ), body: Row( children: const [Text("1"), Text("2"), Text("3")], ), ), ); } |
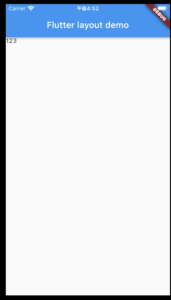
mainAxisAlignment,crossAxisAlignment を使用することで、整列の細かな設定ができます。
Row,ColumnでMain,Cross Axisが違うので注意しましょう。
ちなみにmainAxisAlignment,crossAxisAlignment はenum値で設定します。

|
1 2 3 4 5 6 7 8 9 10 11 12 13 |
Widget build(BuildContext context) { return MaterialApp( title: 'Flutter layout demo', home: Scaffold( appBar: AppBar( title: const Text('Flutter layout demo'), ), body: Row( mainAxisAlignment: MainAxisAlignment.center, children: const [Text("1"), Text("2"), Text("3")], ), ), ); |
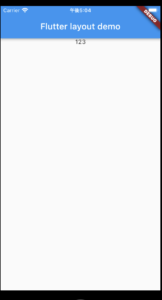
|
1 2 3 4 |
body: Row( mainAxisAlignment: MainAxisAlignment.spaceEvenly, children: const [Text("1"), Text("2"), Text("3")], ), |
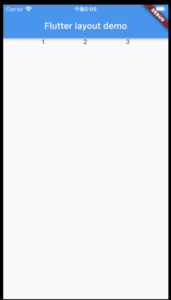
widgetの定義を変数に入れることができます。
下記の例ではtextRowという変数にwidgetの定義を書いています。
|
1 2 3 4 5 6 7 8 9 10 11 12 13 14 15 16 17 18 19 20 21 22 23 24 25 |
class _MyHomePageState extends State<MyHomePage> { @override Widget build(BuildContext context) { return MaterialApp( title: 'Flutter layout demo', home: Scaffold( appBar: AppBar( title: const Text('Flutter layout demo'), ), body: Row( children: [ textRow,//変数に置き換えた Icon(Icons.star, color: Colors.green[500]), Icon(Icons.star, color: Colors.green[500]), Icon(Icons.star, color: Colors.green[500]), ], ), ), ); } } var textRow = Row( children: const [Text("1"), Text("2"), Text("3")], ); |
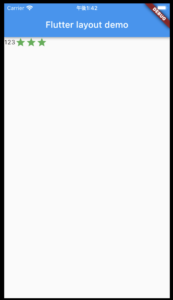
flutterにはよりリッチなwidgetがあります。
詳細は Widget catalogに載っていますので、参照してください。
リッチなwidgetは以下の2種類存在します。
- widgets libraryにあるstandard widgets:非マテリアルappで使える
- Material libraryにあるspecialized widgets:非マテリアル、マテリアルappで使える
細かい仕様は公式ドキュメントを参照してください
特徴は以下の通り
- ボーダー、padding,マージンを追加できる
- 背景色や背景イメージを変更できる
- 一つのchildを持つことができる
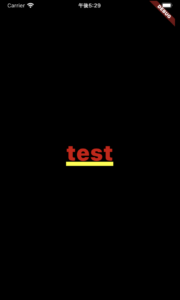
こんな感じでTextをContainerで囲ってみると、特に変化はありません。
|
1 2 3 |
Widget build(BuildContext context) { return Center(child: Container(child: Text("test"))); } |
以下のように白を指定してみると、Textの背景色が白に変化します。
|
1 2 3 4 |
Widget build(BuildContext context) { return Center(child: Container(color: Colors.white, child: Text("test"))); } } |
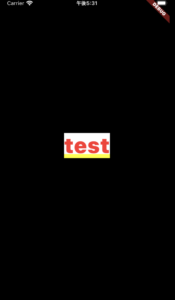
上記の結果か分かるように、Containerの大きさはchildの大きさに合わせて変化します。
childの大きさより大きくしたい場合はpaddingを指定しましょう。
|
1 2 3 4 5 6 7 |
Widget build(BuildContext context) { return Center( child: Container( padding: const EdgeInsets.all(20.0), color: Colors.white, child: const Text("test"))); } |
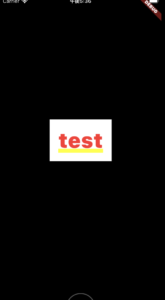
特徴は以下の通り
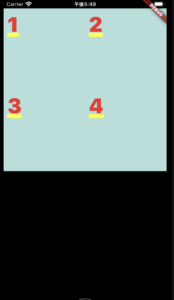
- widgetをgridに配置できる
- gridViewの大きさを超えてwidgetを配置した際は自動でスクロールできるようにしてくれる
- gridを自由にカスタムできる
詳細は公式ドキュメントを参照してください。
こんな感じで使えます。
|
1 2 3 4 5 6 7 8 9 10 11 12 13 14 15 16 17 18 19 20 21 22 23 24 25 26 27 28 |
Widget build(BuildContext context) { return Center( child: GridView.count( crossAxisCount: 2,//1行に表示するwidgetの数を指定 children: [ Container( padding: const EdgeInsets.all(8), color: Colors.teal[100], child: const Text("1"), ), Container( padding: const EdgeInsets.all(8), color: Colors.teal[100], child: const Text("2"), ), Container( padding: const EdgeInsets.all(8), color: Colors.teal[100], child: const Text("3"), ), Container( padding: const EdgeInsets.all(8), color: Colors.teal[100], child: const Text("4"), ), ], )); } |
特徴は以下の通り
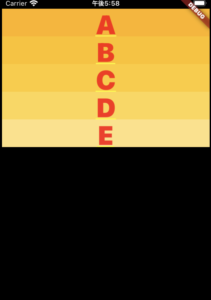
- 垂直、水平どちらでも配置できる
- 自動でスクロールバーを追加してくれる
- Columnより調整できることは少ないが自動でスクロールバーを提供してくれ、使いやすい
詳細は公式ドキュメントを参照ください。
|
1 2 3 4 5 6 7 8 9 10 11 12 13 14 15 16 17 18 19 20 21 22 23 24 25 26 27 |
Widget build(BuildContext context) { return Center( child: ListView( children: [ Container( height: 50, color: Colors.amber[600], child: const Center(child: Text("A"))), Container( height: 50, color: Colors.amber[500], child: const Center(child: Text("B"))), Container( height: 50, color: Colors.amber[400], child: const Center(child: Text("C"))), Container( height: 50, color: Colors.amber[300], child: const Center(child: Text("D"))), Container( height: 50, color: Colors.amber[200], child: const Center(child: Text("E"))) ], )); } |
特徴は以下の通り
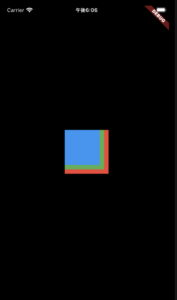
- 複数のwidgetを重ねて表示するのに使う
- childに最初に定義されたwidgetがベースwidgetになる
- スクロールできない
詳細は公式ドキュメントをご覧ください。
ベースwidgetが一番下にきているのが分かると思います。
|
1 2 3 4 5 6 7 8 9 10 11 12 13 14 15 16 17 18 19 20 21 |
Widget build(BuildContext context) { return Center( child: Stack( children: <Widget>[ Container( width: 100, height: 100, color: Colors.red, ), Container( width: 90, height: 90, color: Colors.green, ), Container( width: 80, height: 80, color: Colors.blue, ), ], )); |
特徴は以下の通り
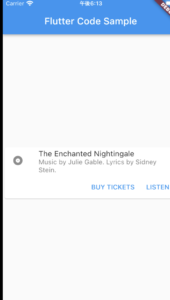
- 関連する情報を表示するのに使用される
- スクロールできない
詳細は公式ドキュメントを参照してください。
|
1 2 3 4 5 6 7 8 9 10 11 12 13 14 15 16 17 18 19 20 21 22 23 24 25 26 27 28 29 30 31 32 33 34 35 36 37 38 39 40 41 42 43 44 45 46 47 48 49 50 51 52 53 54 55 56 57 |
import 'package:flutter/material.dart'; void main() => runApp(const MyApp()); class MyApp extends StatelessWidget { const MyApp({Key? key}) : super(key: key); static const String _title = 'Flutter Code Sample'; @override Widget build(BuildContext context) { return MaterialApp( title: _title, home: Scaffold( appBar: AppBar(title: const Text(_title)), body: const MyStatelessWidget(), ), ); } } class MyStatelessWidget extends StatelessWidget { const MyStatelessWidget({Key? key}) : super(key: key); @override Widget build(BuildContext context) { return Center( child: Card( child: Column( mainAxisSize: MainAxisSize.min, children: <Widget>[ const ListTile( leading: Icon(Icons.album), title: Text('The Enchanted Nightingale'), subtitle: Text('Music by Julie Gable. Lyrics by Sidney Stein.'), ), Row( mainAxisAlignment: MainAxisAlignment.end, children: <Widget>[ TextButton( child: const Text('BUY TICKETS'), onPressed: () {/* ... */}, ), const SizedBox(width: 8), TextButton( child: const Text('LISTEN'), onPressed: () {/* ... */}, ), const SizedBox(width: 8), ], ), ], ), ), ); } } |
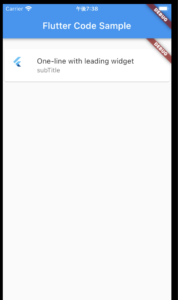
特徴は以下の通りです。
- 最大3行からなる特別なRow
- Rowより細かい調整はできないが使いやすい
詳細は公式ドキュメントを参照ください。
|
1 2 3 4 5 6 7 8 9 10 11 12 13 14 15 16 17 18 19 20 21 22 |
@override Widget build(BuildContext context) { return MaterialApp( title: 'Flutter layout demo', home: Scaffold( body: Container( color: Colors.green, child: Material( child: ListView( children: const <Widget>[ Card( child: ListTile( leading: FlutterLogo(), title: Text('One-line with leading widget'), subtitle: Text("subTitle"), ), ), ], ))), )); } } |
以上flutterの基本を学んでみました:)


